Sau khi tạo tài khoản Github ta bắt đầu
Bước 1. Tạo repository trên GitHub
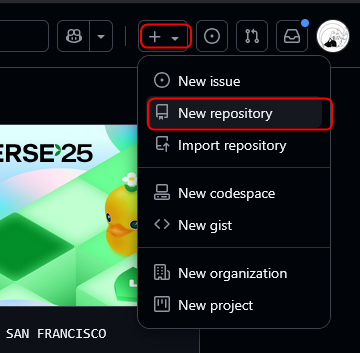
1. Ở góc trên bên phải, nhấn dấu “+” -> New repository
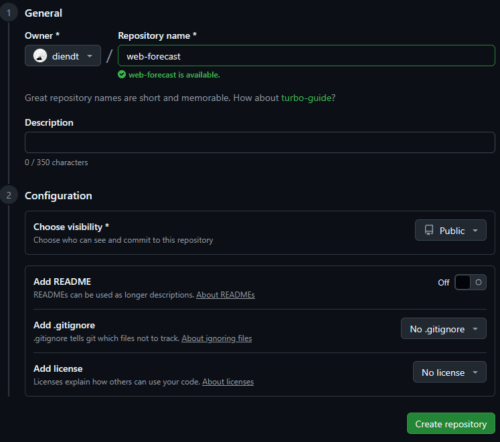
2. Đặt tên repository
3. Chọn chế độ Public
4. Không cần tick vào “Initialize this repository with a README”, chúng ta sẽ thực hành push từ local
5. Create Repository
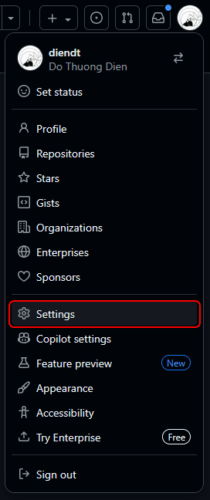
Tạo Personal Access Token để login. Vào GitHub -> Bấm vào Avatar -> Setting
Developer Setting

Personal Access Tokens -> Tokens (classic)

Generate new token
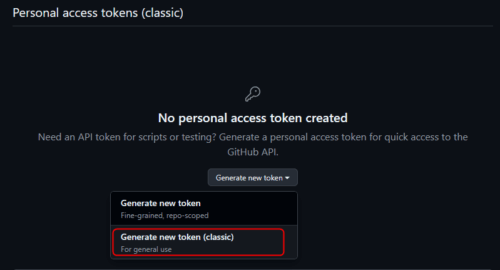
Chọn scope repo, và copy token.
Khi được hỏi password trên terminal thì dán token vào.
Bước 2. Kết nối với GitHub
Nếu tạo project mới chưa có gì thì làm như sau
cd d:\projects\web-forecast
git init
git branch -M main
git remote add origin https://github.com/diendt/web-forecast.git
git push -u origin main
Nếu push project cũ lên repository
cd d:\projects\web-forecast
git remote add origin https://github.com/diendt/web-forecast.git
git branch -M main
git push -u origin main
Bước 3. Tạo Branch và Merge Request
Tạo branch mới
git checkout -b feature/add-readme
echo "# My First Repo" > README.md
git add README.md
git commit -m "Thêm README.md"
git push origin feature/add-readme
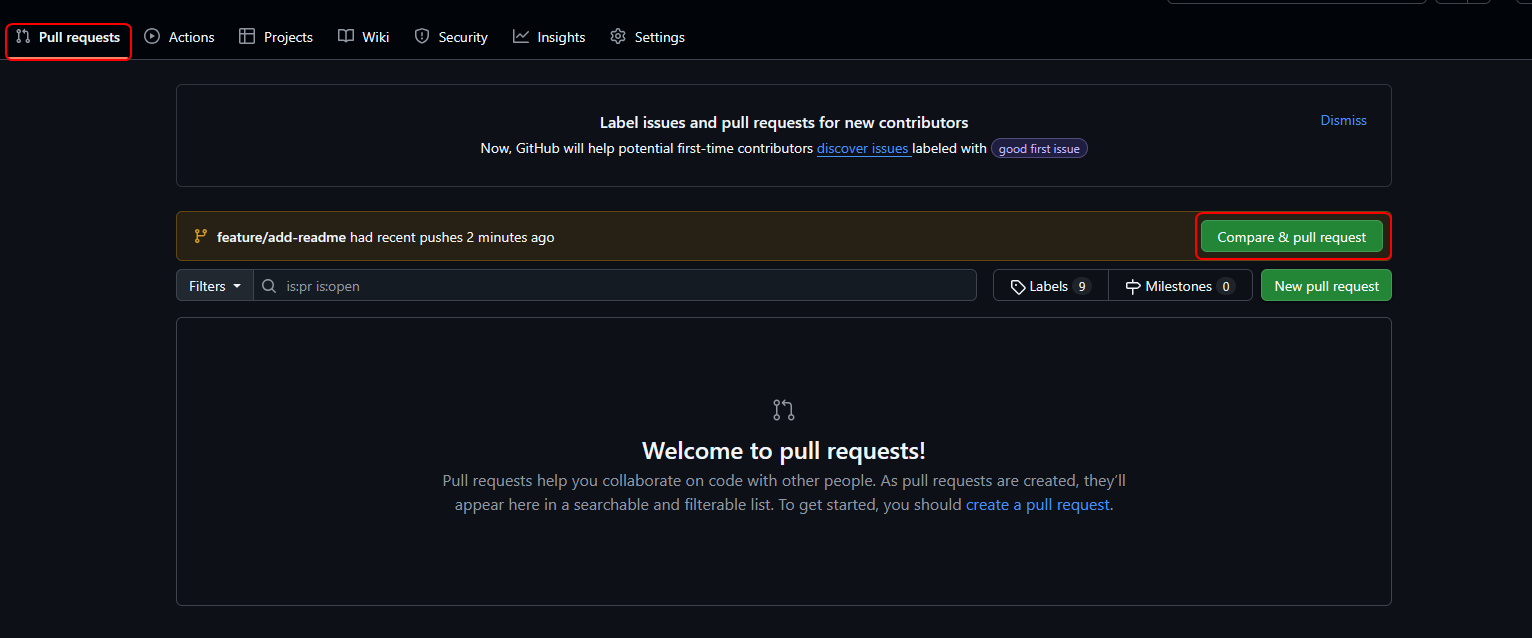
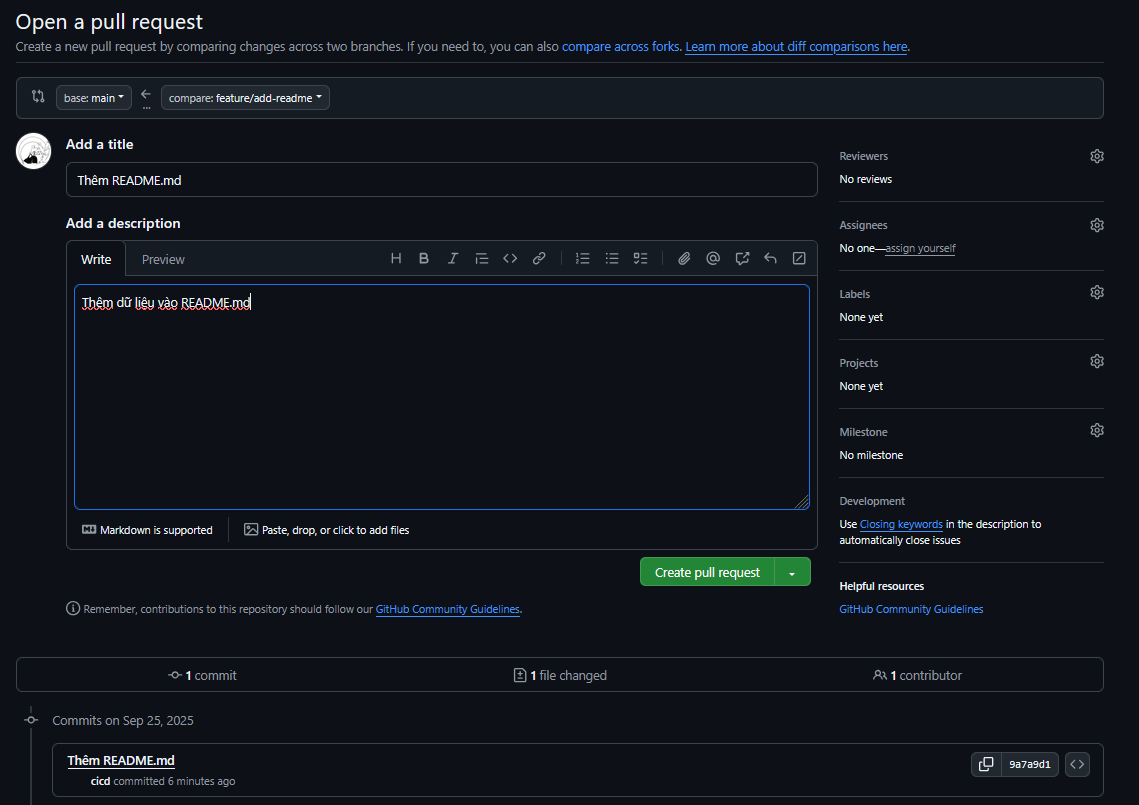
Tạo Merge Request (Pull Request)
- Vào GitHub, chọn Compare & pull request
- Mô tả thay đổi, assign reviewer
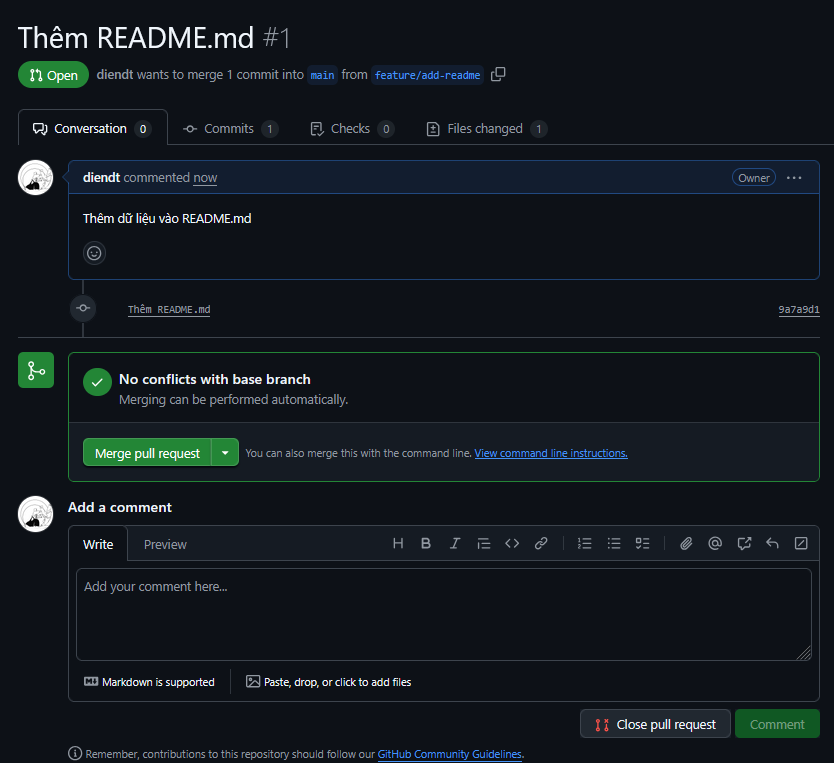
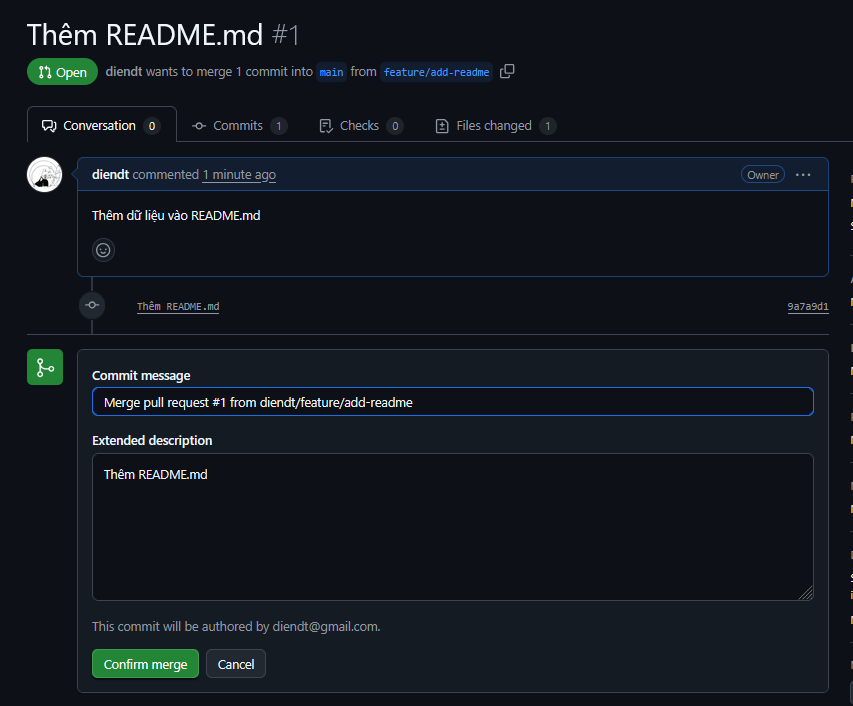
- Chờ approve → Merge vào
main
Bước 4: Giải quyết conflict đơn giản
- Giả lập confict
- Branch main: file
Hello.txtworld chứa “Hello Git“

- Branch
feature/update-hello: đổi thànhHello from feature
2. Merge vào main
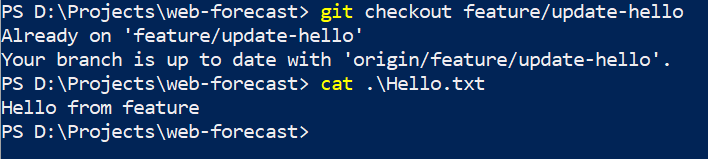
git checkout main
git merge feature/update-hello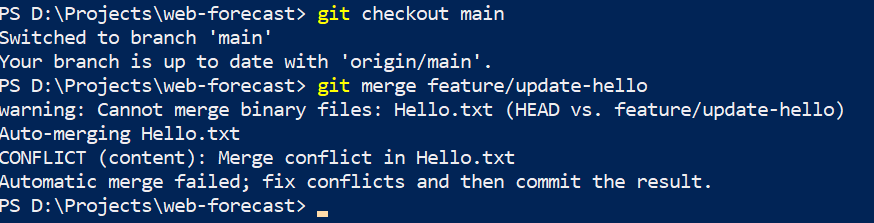
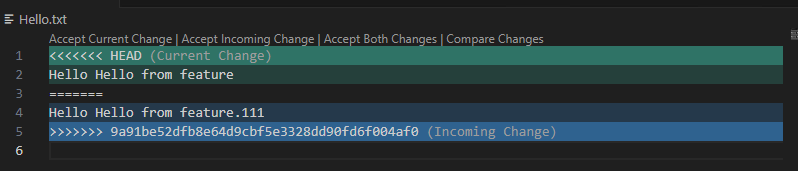
Giải quyết conflict bằng cách chọn nội dung mong muốn bằng các xóa các dòng đánh dấu.
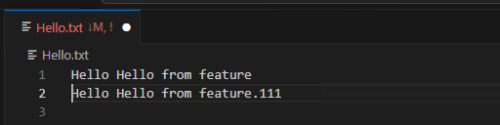
git add Hello.txt
git commit
git push
Đến đây là hoàn thành bài tập